Unity Example
The Unity Sample project integrates the AcceleratXR Unity SDK and provides an example implementation of the following features.
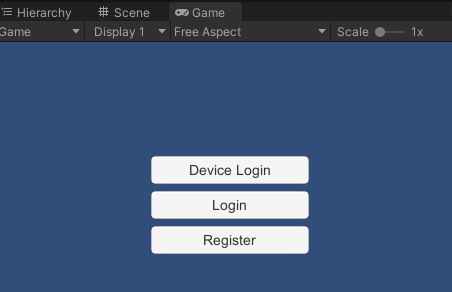
Account registration
User login
Device login
Personas
Matchmaking
Sessions
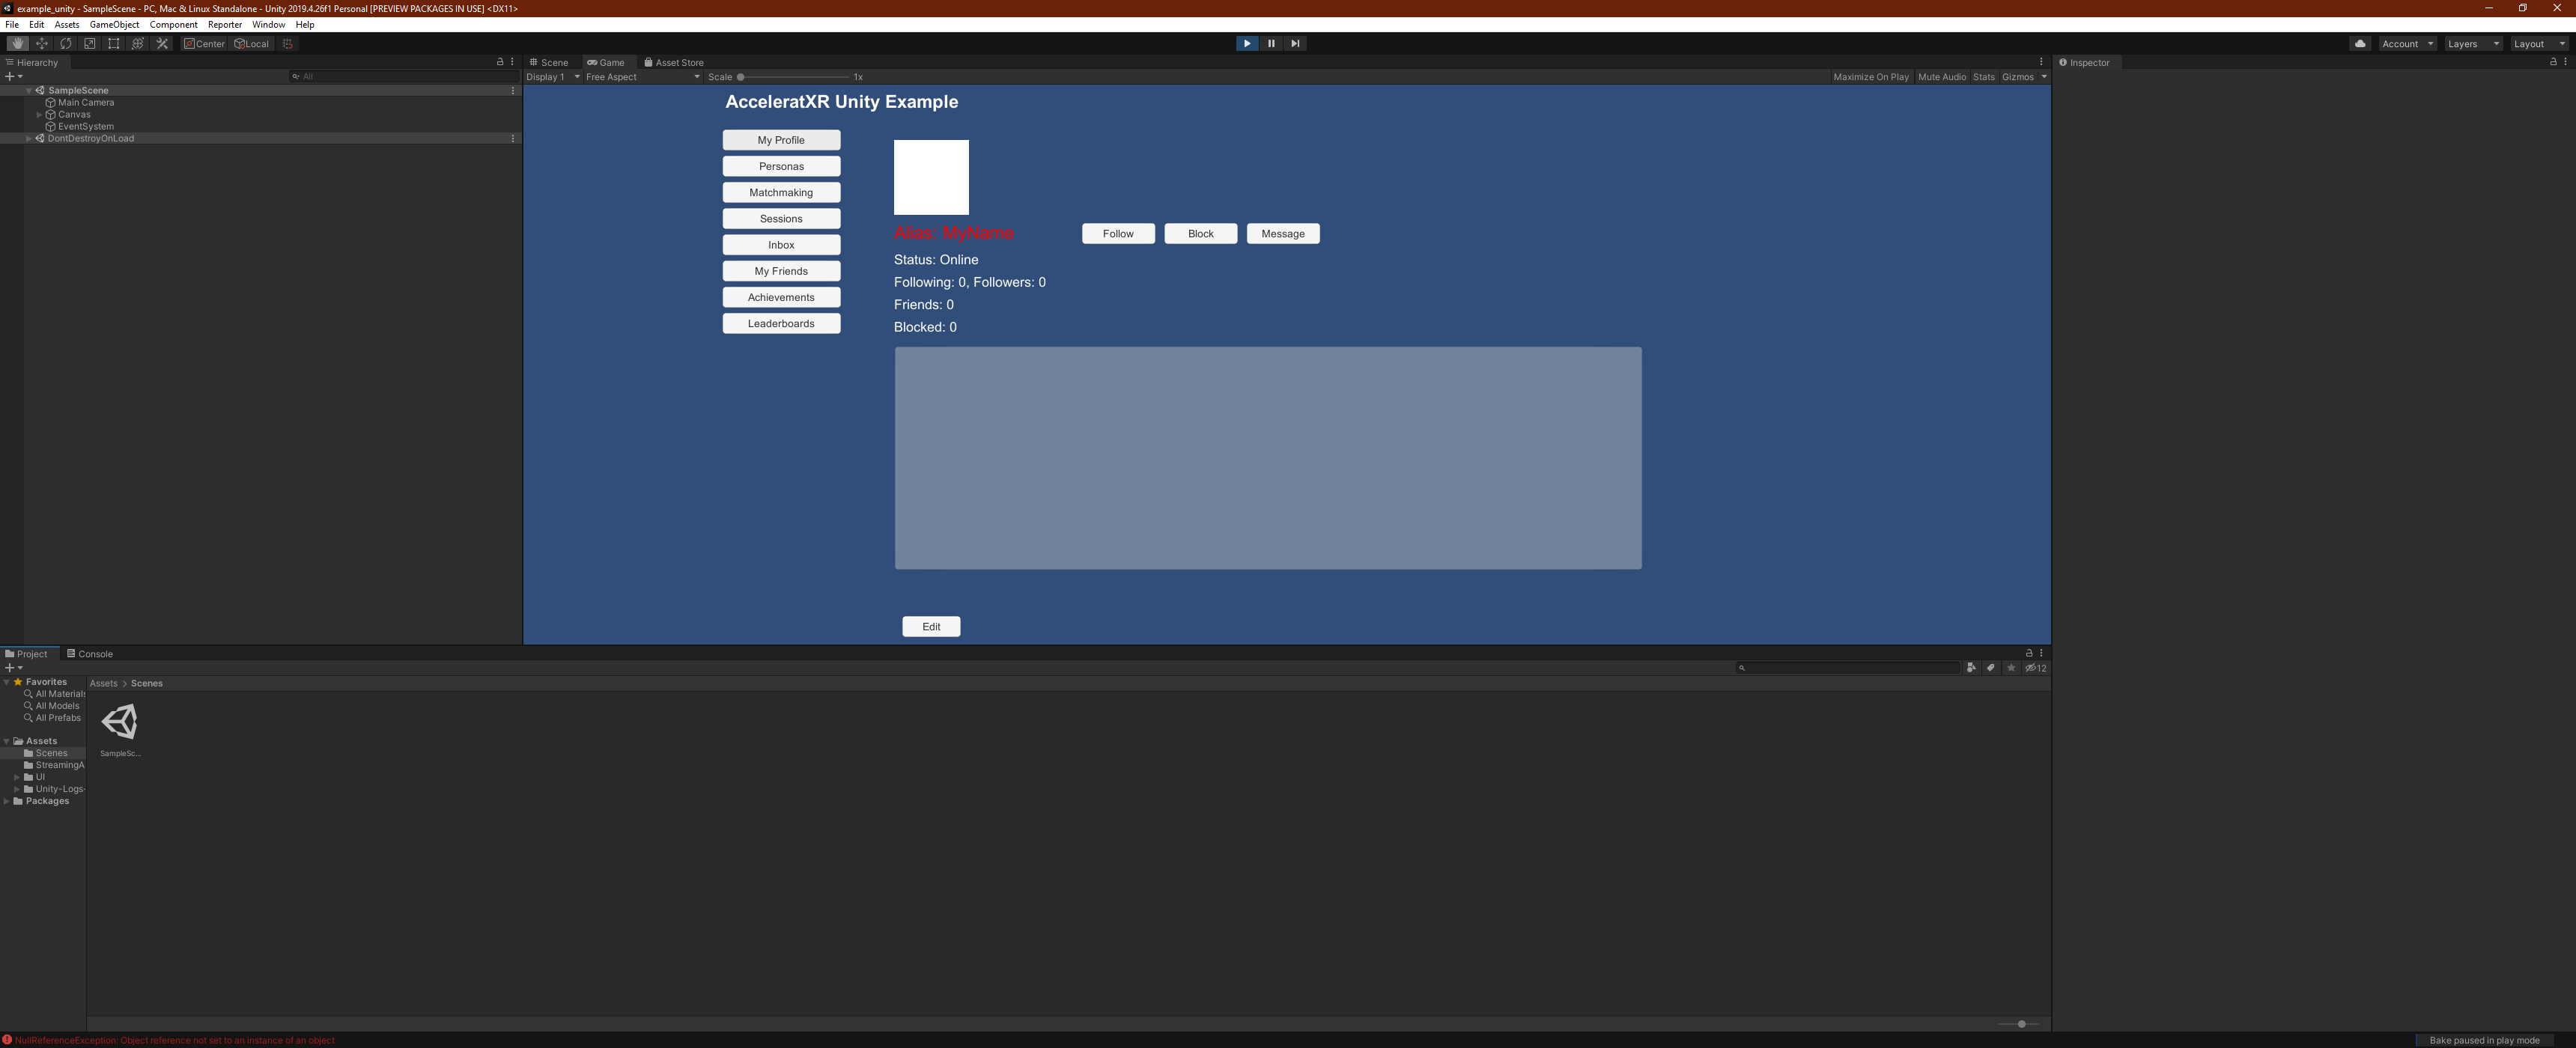
Social Profiles
Friends List
Player Messaging
Achievements
Leaderboards
Getting Started
To get started with, clone the repo from our GitLab server.
- This project works out of the box for Unity 2021.3 LTS.
Older Unity versions may require additional DLL files from the sdk_unity source build.
1git clone git@gitlab.acceleratxr.com:Core/samples/example_unity.git
Project Structure
Upon opening the project, you’ll notice a simple project structure:
All of the project’s implementation logic exists in the Scenes and UI folder.
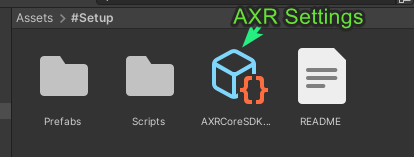
The main folder for getting started is #Setup:
Default Scene
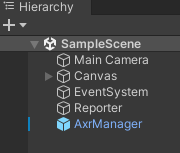
The default scene for the project is SampleScene:
The scene is composed of:
* 1 Camera
* Canvas object containing all relevant UI objects.

MainScene.cs
The MainScene.cs file located in the UI/Controllers folder contains the entry point for the project. This class implements a MonoBehavior
and initializes the AcceleratXR SDK. It also registers necessary push notification handlers so that the application can respond to SDK push messages coming from the backend.
Login & User Registration
The following source code files contain example implementations for common tasks such as user login, account registration and device login.
LoginUser.cs
The LoginUser.cs` file contains relevant code for performing user login. The login menu is the first UI screen shown when the application is started.
RegisterUser.cs
The RegisterUser.cs file contains example code for how to properly register a new user with the backend. In AcceleratXR, account creation is typically a two-step
process. The first step is to create the actual user account record. Once the user account has been created then a second step is performed to create a password for
the new user that will allow that person to login with their username and password in the future. Note that it is possible to create a user account without creating
a password.
Matchmaking & Sessions
Reference implementations are also provided for the matchmaking and session systems. These features are implemented in the following files.
ListSessionsScreen.csNewSessionScreen.csNewTicketScreen.csViewSessionScreen.csViewTicketScreen.cs
Social
The example project includes implementations of various social features including player-to-player messaging, social profiles, and friends list. These features are implemented in the following files.
EditProfileScreen.csViewProfileScreen.csListFriendsScreen.csListMessagesScreen.csViewMessageScreen.cs